
Today is the last instalment of the making process of my own historical rope drum. You can see the first part HERE, the second one HERE, and the third one HERE.
Just so you can remember, this is how the drum looked like at the end of part 3:
 |
| © David Valdés |
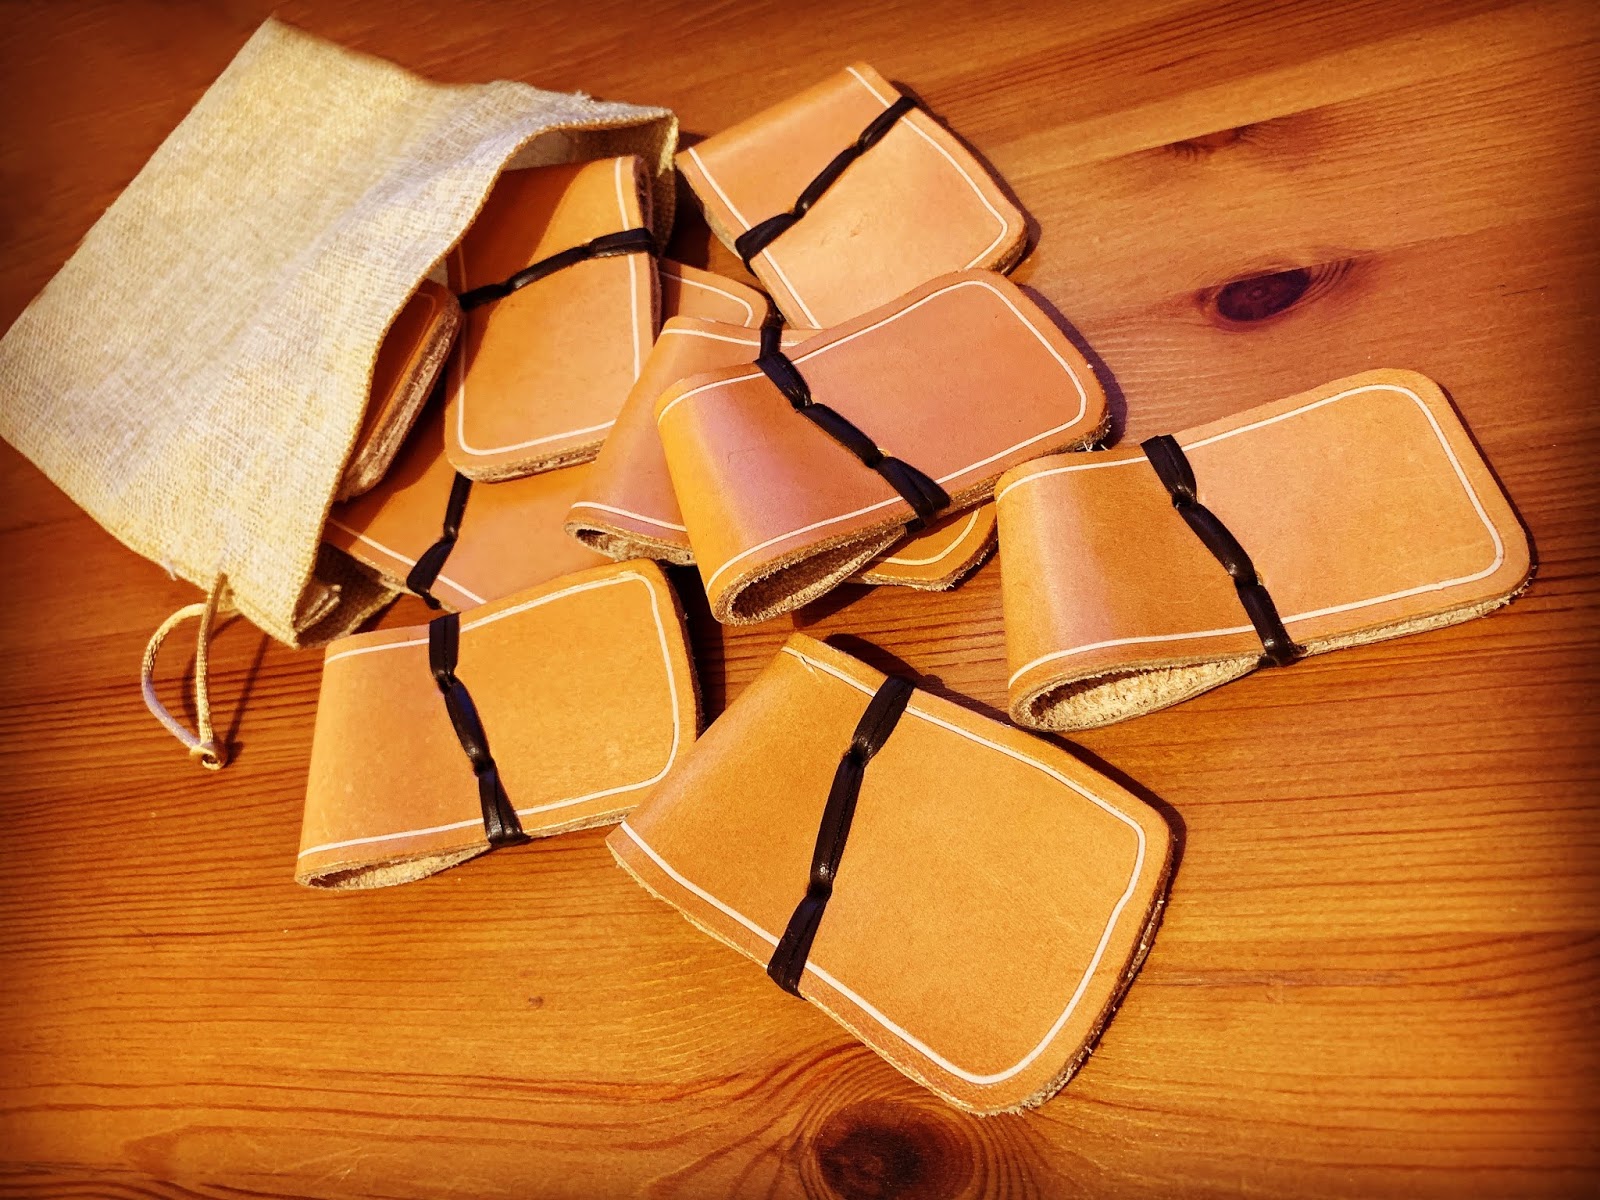
The first thing I did was making ten leather ears. They tense the rope, and I made them using the same materials and procedures described in "Restauration of a rope drum". This is the result:
 |
| © David Valdés |
I bought a couple of natural skin heads (the batter one thicker, the resonant one thinner) mounted on wooden flesh hoops at Baena Sonido and, with quite a few metres (around 20) of hemp rope and lots of patience, I started roping the drum:
 |
| © David Valdés |
Here´s a detailed view of the ears I made:
 |
| © David Valdés |
Here you can see the pig tail (historically correct. See the iconography in part 3):
 |
| © David Valdés |
Once the roping job was done, I started working on the snares. For that, I soaked quite a few metres of natural gut I also bought at
Baena Sonido:
 |
| © David Valdés |
Once flexible, I tied a bowline knot to the butt plate I bought at Cooperman:
 |
| © David Valdés |
I, then, passed the gut through the "J hook" strainer I also bought at Cooperman:
 |
| © David Valdés |
After six passes, here is the rear part:
 |
| © David Valdés |
The front part:
 |
| © David Valdés |
These are the snares on the resonant head:
 |
| © David Valdés |
 |
| © David Valdés |
Here´s a detail of the drag rope (used to hang the drum from a shoulder when not playing and to carry the instrument here are there):
 |
| © David Valdés |
The pig tail. See how the rope was interweaved to add more tension to the heads:
 |
| © David Valdés |
This is how I secured the drag rope. See the leather thread I used to stop the end from undoing:
 |
| © David Valdés |
My job could have finished here, but I wanted to add some more details. So, I secured a bronze British style carry hook to the batter counterhoop I bought at Cooperman. This allows the drum to be hung from a sling:
 |
| © David Valdés |
I also added three bronze legs to the batter counterhoop (which I also bought at Cooperman). Historically, when the drummer was not playing and was resting or doing something else, he would have put the drum on the ground, but always on the batter counterhoop. The snare counterhoop had the drag rope, and it would have been in contact witht the ground (we have to remember these kind of drums were played outdoors, on grass, ground, mud...), and that would have damaged it. Also the snare and the strainer (delicate parts) could have been damaged. Because of that, the drum was always put on the floor on the batter counterhoop, and these legs were used to separate and isolate the drum from the ground. Historically, always three:
 |
| © David Valdés |
Here you can see the drum on the floor, on the batter counterhoop, and how the legs keep it away from the floor:
 |
| © David Valdés |
 |
| © David Valdés |
Here you can see the batter counterhoop with all its "things" (carry hook and legs):
 |
| © David Valdés |
 |
| © David Valdés |
Finally, a photo showing the finished drum:
 |
| © David Valdés |
I think it´s gorgeous, and I can tell you it sounds fantastically well. Thanks to this drum (16"x16") and the other one I own (14"x14"), I have plenty of colours to play early music. I will upload some audio files in future articles. Do you like this drum?
…et in Arcadia ego.
© David Valdés
No comments:
Post a Comment