Showing posts with label Baroque Drum. Show all posts

Monday, 24 February 2020

Building a Renaissance drum ("long drum").

I have been wanting a large drum, like the one my friend and colleage Manolo Durán has, for a long time.


© David Valdés

His drum has been used by the Oviedo Opera Foundation, by the OSPA in some baroque programs... I wanted one like his, but building brands do not offer such large sizes so I could make one myself, and buying one wasn´t an option, as they are ridiculously expensive. When I saw a couple of floor toms stored in my workshop, the gears inside my head started working...

This project starts with two 16"x16" floor toms I had lying around. One of them was a Sonor from a vintage "Swinger" kit, and the other was of unknown brand and procedence. Of course (as you already should know) I couldn´t care less for the woods of these two drums 😉.

Here you have both toms:


© David Valdés


Bare in mind that the height of these two drums together was 32", something not very practical, so I decided to slightly cut one of them so, once together, its height was more convenient: 29".


© David Valdés


The next thing I did was covering all the holes, a process that, should you have read previous articles, I´m already an expert at 😄. Here you can see the glued inserted dowels and how I cut them. You can also see how bad the interior was, but not anymore... I worked on it during the building process.


© David Valdés


In order to join both shells together, I vertically inserted loads of wooden dowels into the now flat edges. The holes in both shells are coincident, so I only had to join the shells inserting the common dowel in the corresponding holes in both drums.


© David Valdés


I must say this process was quite complicated, as the shells are quite thin, and drilling them and inserting the dowels was quite hard. If I´m not wrong, I think I used more than 20 dowels to ensure the correct joining of the two shells. Once everything was glued together, this is how it looked from the inside (still not sanded or oiled):


© David Valdés


This is how the seam looked from the outside:


© David Valdés


Next thing I did was sanding both the inside and the outside untill they were perfectly smooth, as if the shell was just one instead of two joined together. I also applied some tung oil to the interior.

I got another problem when I tried to cover the outside: the drum is so large that no vinyl cover exists or is commercially available. To solve this, I decided to go with a striped design. I used "Fablon" vinyl to cover the large bands (mahogany) and thinner strips of beech on the centre. This is how it looks once applied.


© David Valdés
  

As you can see, the final result is very nice.

The counterhoops are made of beech and I got them from Manuel Almeida de Ocampo. They are a single steam bent piece. Here you can see how I marked them to for drilling (in a 20º angle, so the rope "descends" through them).


© David Valdés


Once drilled, I applied some tung oil. Here you can see a raw one and an oiled one.


© David Valdés


This photo shows both counterhoops finished and the holes free from shavings. Have a look at the lower left corner: there´s the jig I used to drill the holes to a 20º angle.


© David Valdés


I got the goat heads at Baena Sonido, mounted on wooden hoops. The batter head is slighter thicker than the thinner resonant head.


© David Valdés


© David Valdés


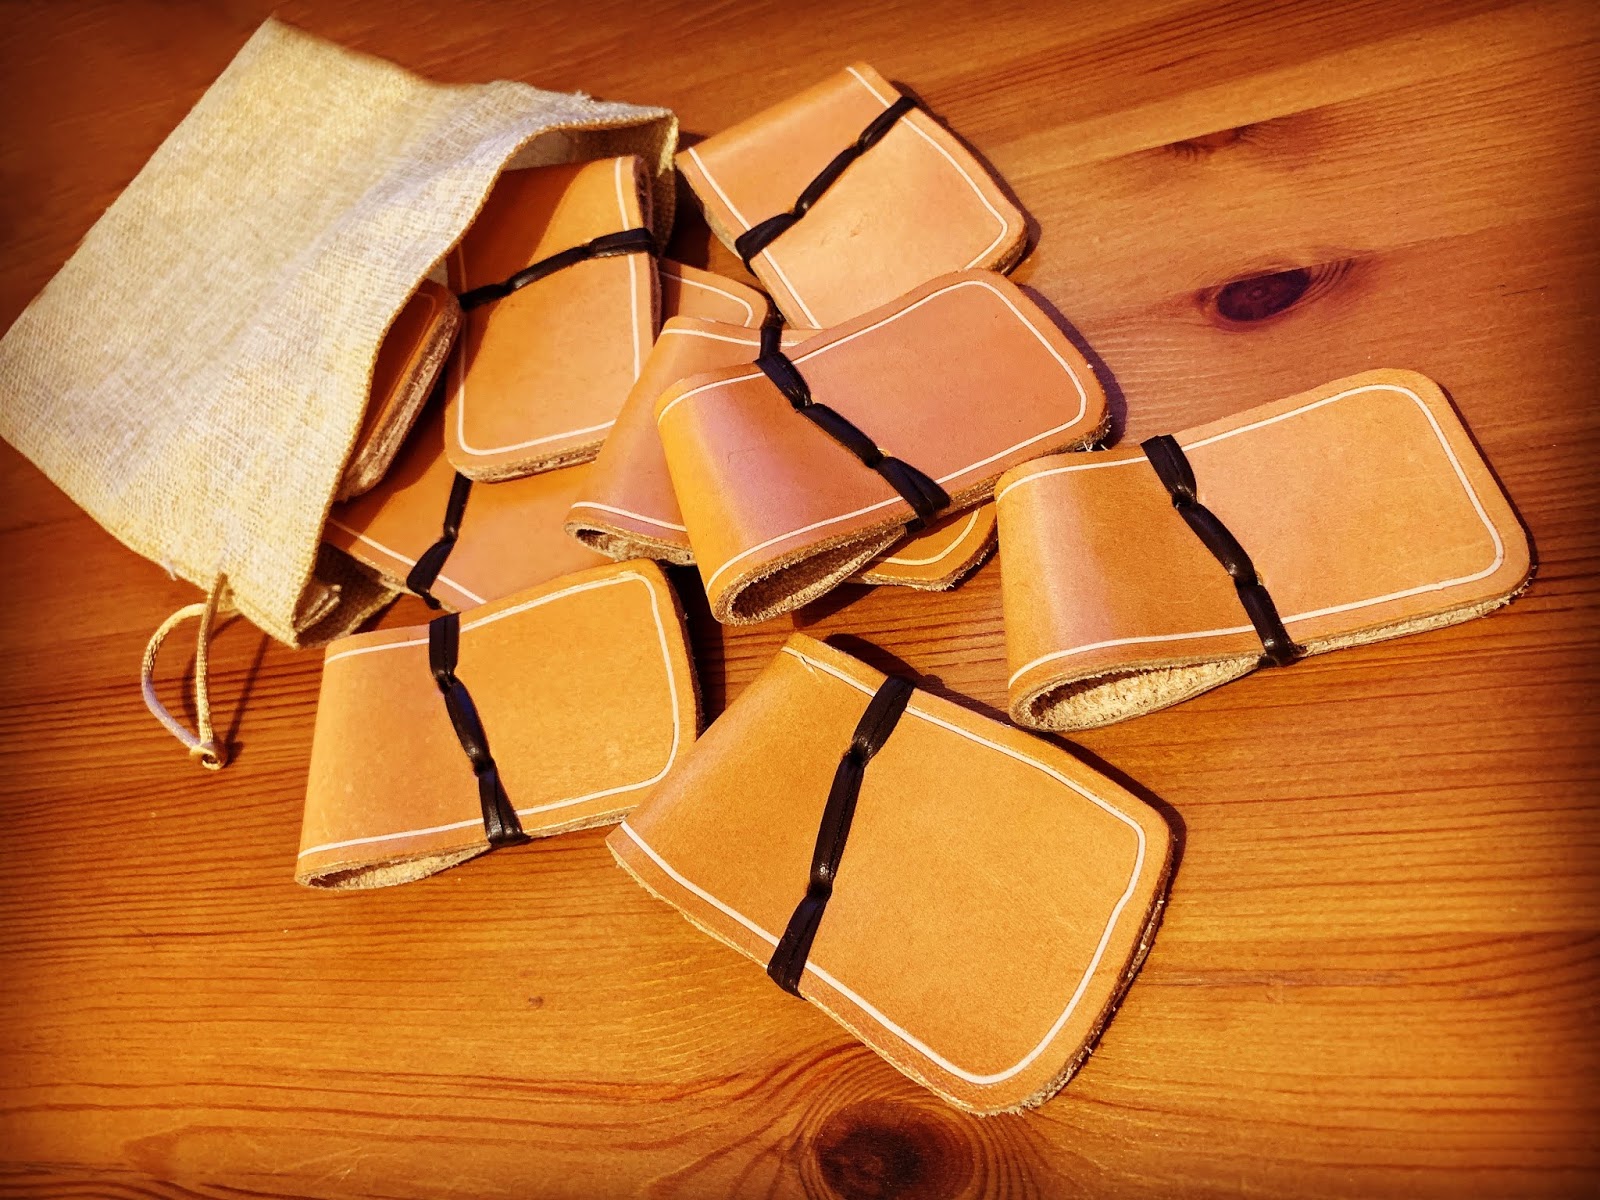
I used natural rope and also made some leather ears:


© David Valdés


© David Valdés


Done. Time to put everything together:


© David Valdés


© David Valdés


© David Valdés


© David Valdés


As a final detail, I added a carry hook so the drum can be hung from a sling.


© David Valdés


Mi Renaissance drum is finished... If you take Manolo´s as a reference (first photo), you have to know mine is a little bit larger (his is about 70 cm. high, mine is 29"), so you now have a rough idea of its size. I can tell you this drum sounds like a thunder, and is great for playing early music or things like the long drum in Aaron Copland´s  "Appalachian Spring".


…et in Arcadia ego.
© David Valdés

Friday, 24 May 2019

Do it yourself historical rope drum (IV)

Today is the last instalment of the making process of my own historical rope drum. You can see the first part HERE, the second one HERE, and the third one HERE.

Just so you can remember, this is how the drum looked like at the end of part 3:


© David Valdés


The first thing I did was making ten leather ears. They tense the rope, and I made them using the same materials and procedures described in "Restauration of a rope drum". This is the result:


© David Valdés


I bought a couple of natural skin heads (the batter one thicker, the resonant one thinner) mounted on wooden flesh hoops at Baena Sonido and, with quite a few metres (around 20) of hemp rope and lots of patience, I started roping the drum:


© David Valdés


Here´s a detailed view of the ears I made:


© David Valdés


Here you can see the pig tail (historically correct. See the iconography in part 3):


© David Valdés


Once the roping job was done, I started working on the snares. For that, I soaked quite a few metres of natural gut I also bought at Baena Sonido:


© David Valdés


Once flexible, I tied a bowline knot to the butt plate I bought at Cooperman:


© David Valdés


I, then, passed the gut through the "J hook" strainer I also bought at Cooperman:


© David Valdés


After six passes, here is the rear part:


© David Valdés


The front part:


© David Valdés


These are the snares on the resonant head:


© David Valdés


© David Valdés


Here´s a detail of the drag rope (used to hang the drum from a shoulder when not playing and to carry the instrument here are there):


© David Valdés


The pig tail. See how the rope was interweaved to add more tension to the heads:


© David Valdés


This is how I secured the drag rope. See the leather thread I used to stop the end from undoing:


© David Valdés


My job could have finished here, but I wanted to add some more details. So, I secured a bronze British style carry hook to the batter counterhoop I bought at Cooperman. This allows the drum to be hung from a sling:


© David Valdés


I also added three bronze legs to the batter counterhoop (which I also bought at Cooperman). Historically, when the drummer was not playing and was resting or doing something else, he would have put the drum on the ground, but always on the batter counterhoop. The snare counterhoop had the drag rope, and it would have been in contact witht the ground (we have to remember these kind of drums were played outdoors, on grass, ground, mud...), and that would have damaged it. Also the snare and the strainer (delicate parts) could have been damaged. Because of that, the drum was always put on the floor on the batter counterhoop, and these legs were used to separate and isolate the drum from the ground. Historically, always three:


© David Valdés


Here you can see the drum on the floor, on the batter counterhoop, and how the legs keep it away from the floor:


© David Valdés


© David Valdés


Here you can see the batter counterhoop with all its "things" (carry hook and legs):


© David Valdés


© David Valdés


Finally, a photo showing the finished drum:


© David Valdés


I think it´s gorgeous, and I can tell you it sounds fantastically well. Thanks to this drum (16"x16") and the other one I own (14"x14"), I have plenty of colours to play early music. I will upload some audio files in future articles. Do you like this drum?


…et in Arcadia ego.
© David Valdés

Thursday, 6 December 2018

Do It Yourself historical rope drum (III).

Today I´m bringing you the third part of my "Do It Yourself historical rope drum" project. You can check the first part HERE and the second one HERE.

This is how the drum looked like at the end of the second part:


©David Valdés


As I wanted to emulate historical designs, I had a very clear idea since the very beginning of this project: to decorate the shell with tacks, a normal procedure centuries ago (and a necessary one because, when bending the wood to form a cylinder, we get a join that needs to be reinforced for the shell to stay in shape. It was also a decorative element and, because of the different patterns, it was also used to identify makers). So, looking for inspiration, I searched in the iconography and surviving historical drums:


"The nightwatch" (Rembrandt)


"Boy with a drum" (Rembrandt)


American Civil War drum


American Civil War drum


 American Civil War drums belonging to William F. Ludwig II


British long drum (1714-1727). National Music Museum. Here you can see the seam where the shell overlaps over itself and how it is reinforced with tacks.


Bass drum by William Kilbourn (Albany, New York). 1864-1869. National Music Museum


Trying not to screw it up or irreversibly damaging the shell, I did some preliminary tests on a board:


©David Valdés


Once I was confident enough, I got a compass and gridded paper, where I draw several concentric circumferences (using the vent hole as the centre). I then marked their perimeters with equidistant points. Those points would be where I would hammer the tacks. Once I finished the template, I fixed it on the shell with masking tape (so as not to damage the finish), centering it on the vent hole and aligning the "north/south" diametral line with the seam of the outer layer of the shell, which is also the symmetric axis for the snare bed and the vent hole. This way, all the elements would be centered and symmetrical (even the snare strainer).


©David Valdés


I got some nice brass tacks to harmonize with the rest of the elements of the drum but, before starting with the hammering, I had to cut them, as they were longer than the thickness of the shell (and I didn´t want them to go through it). As I always do, once cut I hammered their tips so they don´t crack the wood.


©David Valdés


Using the template, the next job (very boring, by the way...) was marking the points were I would hammer the tacks.


©David Valdés


Once done, I removed the template, revealing the marks. With this preparatory job done, hammering the tacks was a piece of cake.


©David Valdés


So, there goes the first circumference (12 tacks):


©David Valdés


The second one (24 more tacks):


©David Valdés


The third one (36 more):


©David Valdés


And, finally, the fourth one (48 more):


©David Valdés


Once I finished the central "rosette", I considered attaching a brass grommet to the vent hole, but checking the iconography I saw it wasn´t a feature present in historical drums, so I got rid of it.

©David Valdés


I completed the design (using the template and technique already described) with four more "rosettes", this time using different tack sizes to make them look like flowers.


©David Valdés


And here we have, 172 tacks later, the whole thing finished:


©David Valdés


The next thing I did was attaching a snare strainer (an 18th century replica I got at Cooperman which I gold plated to match the other elements -the original piece was chromed-):


©David Valdés


Using my angle mat, I marked a diametrical point to that of the strainer...


©David Valdés


...so I could attach the butt bolt (also by Copperman, and also gold plated).


©David Valdés

Here you have a photo of the shell, counterhoops and heads ready to get roped (bare in mind those aren´t the heads actually on the drum, as they feature aluminium flesh hoops, which are not historical. The drum does now feature goat heads mounted on wooden flesh hoops).


©David Valdés


I´ll show you the complete drum in a future article. Do you like this kind of finish?, do you consider it historical enough? 😉


…et in Arcadia ego.
© David Valdés