While building my own 16"x16" historical rope drum (
"DIY historic rope tension drum I",
"DIY historic rope tension drum II" and future articles) I came across an already made 14"x12" drum (at a very good price), so I couldn´t resist the temptation and got it. Said drum was a
Gonalca in a reasonable condition, but in need of some work to make it sound and look to its full potential. As it happens with almost all the projects I show you in my blog, I ended up working on quite a few of them at the same time.
 |
| © David Valdés |
As always, the first thing I did was stripping it down to pieces.
 |
| © David Valdés |
 |
| © David Valdés |
When removing its goat heads I realized something: instead of being tucked the traditional way, they are fixed with staples to the flesh hoop! I have never seen that before.
 |
| © David Valdés |
The bearing edge, apart from dirty, was in perfect condition (and rounded, as one would expect in this kind of drums. No fancy angled cuts).
 |
| © David Valdés |
The interior was inmaculate, though somewhat rough.
 |
| © David Valdés |
 |
| © David Valdés |
The butt end and the snare strainer were ok, but the latter was missing the strainer (no worries... I was planning using other parts).
 |
| © David Valdés |
 |
| © David Valdés |
The snare bed was also perfect, as you can see in this photo.
 |
| © David Valdés |
It´s very wide, and it runs between the two green marks on the table:
 |
| © David Valdés |
This is the bare shell.
 |
| © David Valdés |
It featured kind of a "kitchen table finish", so that was the first thing I got rid of.
 |
| © David Valdés |
Using grade 50 sand paper I made the shell return back to its "natural" state.
 |
| © David Valdés |
I repeated the process with finer grades (both in and out) untill it was smooth like a baby bum. I have to say this shell is made of birch, and working with this wood is a pain you know where, as it produces foam-like shavings, which get everywhere, making working with this wood a real hassle.
 |
| © David Valdés |
I then applied some tung oil to the interior, letting it dry for 24 hours before applying the next coat. See the difference between the treated interior and the raw exterior.
 |
| © David Valdés |
 |
| © David Valdés |
I then went back to an old friend: chesnut dye. The first photo shows the process half-way, the second one shows the shell recently finished (still wet), and the third photo shows the shell one once dry and worked with 000 grade steel wool.
 |
| © David Valdés |
 |
| © David Valdés |
The shell was done, so I started working on the hoops, which had some problems with the laminate.
 |
| © David Valdés |
Then I had the idea of decorating the hoops somehow. I haven´t seen iconography showing ornate hoops, but I wanted to make my drum look more "baroque", so I wasn´t afraid to go the overelaborate way. My first idea was pyrography, but I soon abandoned, as I never did anything like that. Then I got this idea while wandering through the aisles in
Leroy Merlin:
 |
| © David Valdés |
These tacks are longer than the hoop thickness, so I had to cut them:
 |
| © David Valdés |
 |
| © David Valdés |
Here you can see an original and a cut one:
 |
| © David Valdés |
The problem is that they can crack the wood if hammered in with this new end, so I hammered the tips to avoid surprises. After some tests I decided I would use two of them between holes. I measured, marked and prepared the hole with a brace:
 |
| © David Valdés |
Then it´s just a matter of hammering them in along the perimetre and being careful with the fingers:
 |
| © David Valdés |
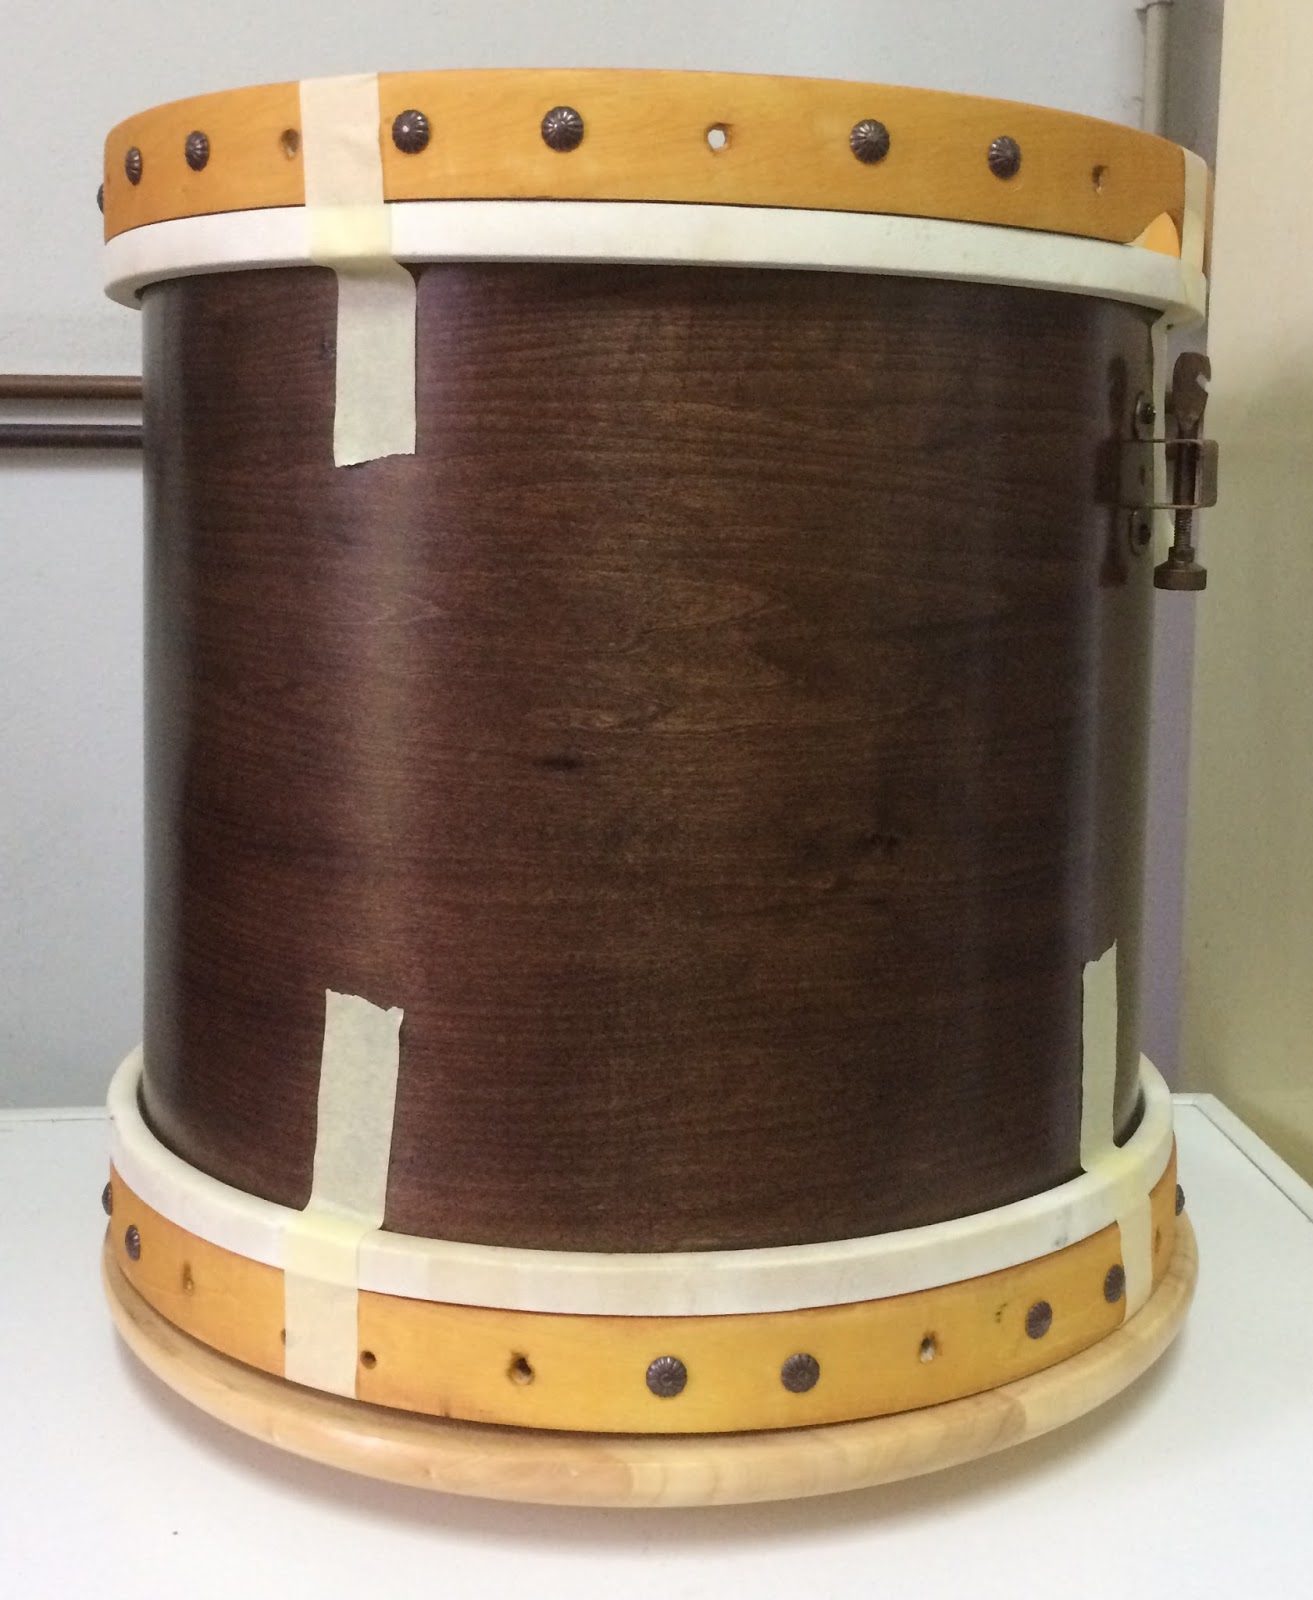
This is the final result:
 |
| © David Valdés |
I also added a carry hook (missing in the original drum) so I can use a sling. It was also ordered in an aged brass finish.
 |
| © David Valdés |
Now, let me tell you... These hoops allow 4mm diametre ropes to pass through. The rope I used in the drum I showed you in previous articles is 5mm. Hemp rope is sold in 200m lenght rolls, so I would have to buy another 200m of a different diametre just for this drum (and that´s lots of rope...). So, I decide to "standarize" all the holes in my rope drums: using a bit and some clamps, I enlarged these holes so I could use the same rope in all of my drums, thus not needing to buy hectometres of different diametres. Apart from enlarging the holes, this process also improved their look, as they were a little bit battered due to the pressure the rope made on them.
Other thing: these holes are drilled perpendicular to the hoop (that´s how I got them), something I don´t like, as it complicates the passing of the rope, thus the tensioning. You may remember the hoops on the drum I already showed you in previous articles: the were drilled at a 20º angle. That facilitates the rope passing through, makes the tensioning easier and doesn´t damage the holes. I would have loved modifying them, but I don´t have the tools to drill at an angle other than 90º.
 |
| © David Valdés |
Here we have both the shell and hoops finished:
 |
| © David Valdés |
I then moved to making the leather ears responsible of tensioning the rope (the old ones didn´t match the new look and were not very practical). I chose some light colored leather, as it would match the hoops and contrast the shell. On the contrary, I chose some dark colored leather thread, as it would contrast the ears and match the shell. This way the whole design would be homogeneous and nice (or, at least, it would match my own taste...). I got everything at
Curtidos Carrasco, a local shop worth a visit because of the colours, smells, stock, the kindness of the owners... A time capsule.
 |
| © David Valdés |
I sanded the back of the sheet it to improve grip:
 |
| © David Valdés |
Here you can see half sheet sanded, half sheet as I got it:
 |
| © David Valdés |
I used a model to mark the leather and cut it:
 |
| © David Valdés |
 |
| © David Valdés |
 |
| © David Valdés |
Then I used this tool I don´t know its name (but it´s super fun to use) to make a decorative fillet:
 |
| © David Valdés |
 |
| © David Valdés |
I used a puncher to make holes for the thread:
 |
| © David Valdés |
 |
| © David Valdés |
I then used a special needle and flat leather thread to sew the ears in place (I wasn´t looking for perfect stiches: I was looking for what I saw in old drums):
 |
| © David Valdés |
 |
| © David Valdés |
I made ten ears and, when done, it was just a matter of assembling the whole thing (I will show you how to do it in a future article).
 |
| © David Valdés |
I made the snares with natural gut I got (no pun intended) at
Baena Sonido (I´m learning how to make my own, and already have everything I need to make them).
 |
| © David Valdés |
After sanding them to take off the lacquer they were covered with, I put them in water to make them "workable" with (I know, the bowl looks funny... 😊):
 |
| © David Valdés |
Once it was wet and flexible, I made a bowline knot around the butt end and started passing the gut across the resonant head:
 |
| © David Valdés |
 |
| © David Valdés |
 |
| © David Valdés |
I made four passes, secured the end with another bowline knot and let them dry.
 |
| © David Valdés |
With the rope tight, the drum was finished and ready to be played. I will post a demo video in a future article, but I must say it sounds extremely well, so loud and articulate it could blow a whole regiment out. This drum is ideal for traditional repertoire and early music.
Here you can see some decent photos:
 |
| © David Valdés |
 |
| © David Valdés |
 |
| © David Valdés |
 |
| © David Valdés |
 |
| © David Valdés |
 |
| © David Valdés |
 |
| © David Valdés |
 |
| © David Valdés |
 |
| © David Valdés |
 |
| © David Valdés |
I promess I will show you how it sounds soon. Do you own a rope drum?, have you made it yourself?, have you repaired one? Leave your comments!.
…et in Arcadia ego.
© David Valdés