Showing posts with label IKEA. Show all posts

Friday, 19 January 2018

"Do It Yourself" tamt-tam/gong.

Not very happy about it (I DO HATE shopping malls), four days ago I went to IKEA to buy some stuff for my daughters´ bedroom. Fortunately, and because it was Tuesday morning, it was not too busy.

Believe or not, there are many things there a percussionist could make good use of, and today I´m going to write about one of them: the STOCKHOLM 2017 tray, article number 103.452.47, which you can find HERE. It´s made of stainlees steel, it´s 40cm in diametre (15.5") and features the same flange tam-tams have (4cm). Taking into account that artisans like Lance CampeauMatt Nolan, Dave Collingwood, Greg Keplinger..., have (or have had) stainless steel instruments in their catalogs, it was not too crazy thinking this tray could end up as a musical instrument... Also, because it was 15€, it wouldn´t hurt my pocket much should the experiment failed.

Here´s the tray fresh from IKEA:


© David Valdés


© David Valdés


© David Valdés


I need to hang it in order to play it, so the first and only thing I did was drilling the flange so I could pass a rope through the holes. Taking into account the orientation of the logo (if we are going to do it, let´s do it right... 😊), I draw a line from its centre to the edge. From that line, I moved 7cm to each side (totally random, it was the measure I felt was OK), and then marked the centre of the flange with a felt pen.


© David Valdés


I marked those two points with a single blow of a nail so as to make way for the bit (use a bit for metal and not the first one you get your hands on... 😉) and to prevent it from sliding while drilling. I started with a size 1 bit, progressing up to size 9 (the one allowing the rope to comfortably pass through).


© David Valdés


© David Valdés


I did so with both points on the flange. When done, I used this tool to get rid of imperfections and shavings.


© David Valdés


In order to avoid the rope being damaged by the rough inner surface, I wrapped the size 9 bit with grade 500 sand paper and worked the inside of both holes untill they were smooth like a baby bum.


© David Valdés


I passed a cotton rope through them...


© David Valdés


... and the tray became a tam-tam. 


© David Valdés


© David Valdés


And yes, same we go around with Paiste, Zildjian, Sabian..., logos, I´ll go around with an IKEA one right in the centre of my instrument 😆.


© David Valdés


How does it sound? Pretty well... Here you have a video (recorded using an iPhone). Headphones or good quality speakers are recommended. I have played dead centre, very close to the flange and half way between both so you can check the different sounds it can produce (very much noticeable live), Surprisingly enough, you can sometimes here the glissandi opera gongs are capable of.


What can I say? For 15€ and a couple of holes, the result is spectacular. If you give it a try (no pun intended), maybe the article "Do It Yourself gong beater" is a good start to make your own beaters.

If you feel adventurous, I´ll be happy to see and hear what you come up with.


…et in Arcadia ego.
© David Valdés

Wednesday, 29 July 2015

Rotating table for working with drum shells.

Lately, I have spent quite a few time restauring and modifying different kinds of drums. I never did that before, so I learnt along the way, trial and error, and one of the first things I realized was having the right tools is C-R-U-C-I-A-L. I have bought many, which made my life easier, but one in particular, specific for drum building, is a must: a rotating tray.

There´s a "Lazy Susan" in IKEA under the name of SNUDDA which I used as the base for my rotating thing. It costs the prohibitive price of 5,50€...


As its diametre doesn´t accomodate 16" or larger shells, first thing I did was adding an extended surface so I could work with bigger drums. I used a 50x50cm board on top of the IKEA tray, carefully aligning both centres so as not to get eccentricity and the whole thing rotating funny...

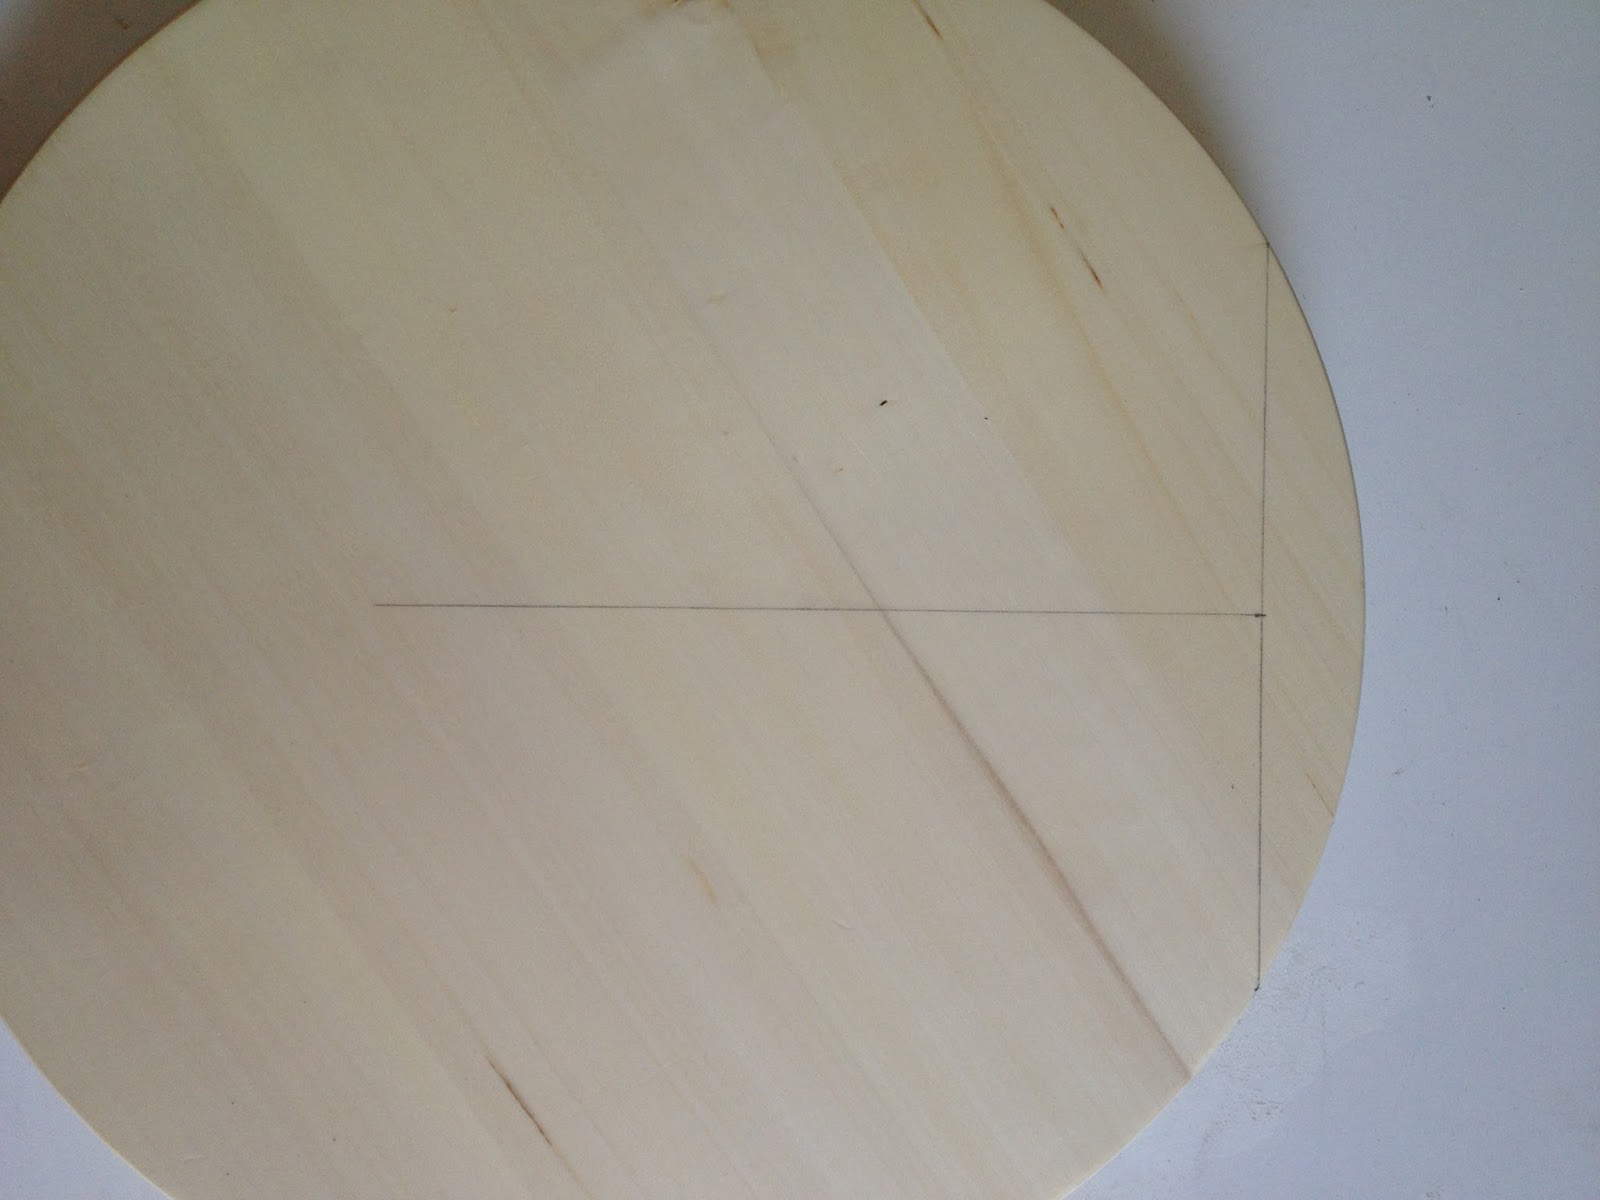
So, first thing was finding the centre of the SNUDDA. For that, I draw a chord 20cm. long (I chose that particular lenght in order to easily draw the perpendicular bisector without using a compass, as the lines would be outside the tray). Once I have my 20cm. chord, drawing its perpendicular bisector is easy, as I know it´s on the 10cm. mark.


©David Valdés


Then I did exactly the same with another chord (where you draw them or their lenght is irrelevant: you can draw them wherever you want and as long or shot as you fancy). The point where the two perpendicular bisectors cut is our centre.


©David Valdés


Once I know where the centre of our base is, I searched for the one on the "extending board", a conglomerate one measuring 50x50cm. (you can cut it bigger should you want to work with 18", 20" or 22" bass drums... At the moment I don´t need it that big, so I´m ok with this size).


©David Valdés


It´s as easy as drawing its diagonals: the centre is on the crossing point.


©David Valdés


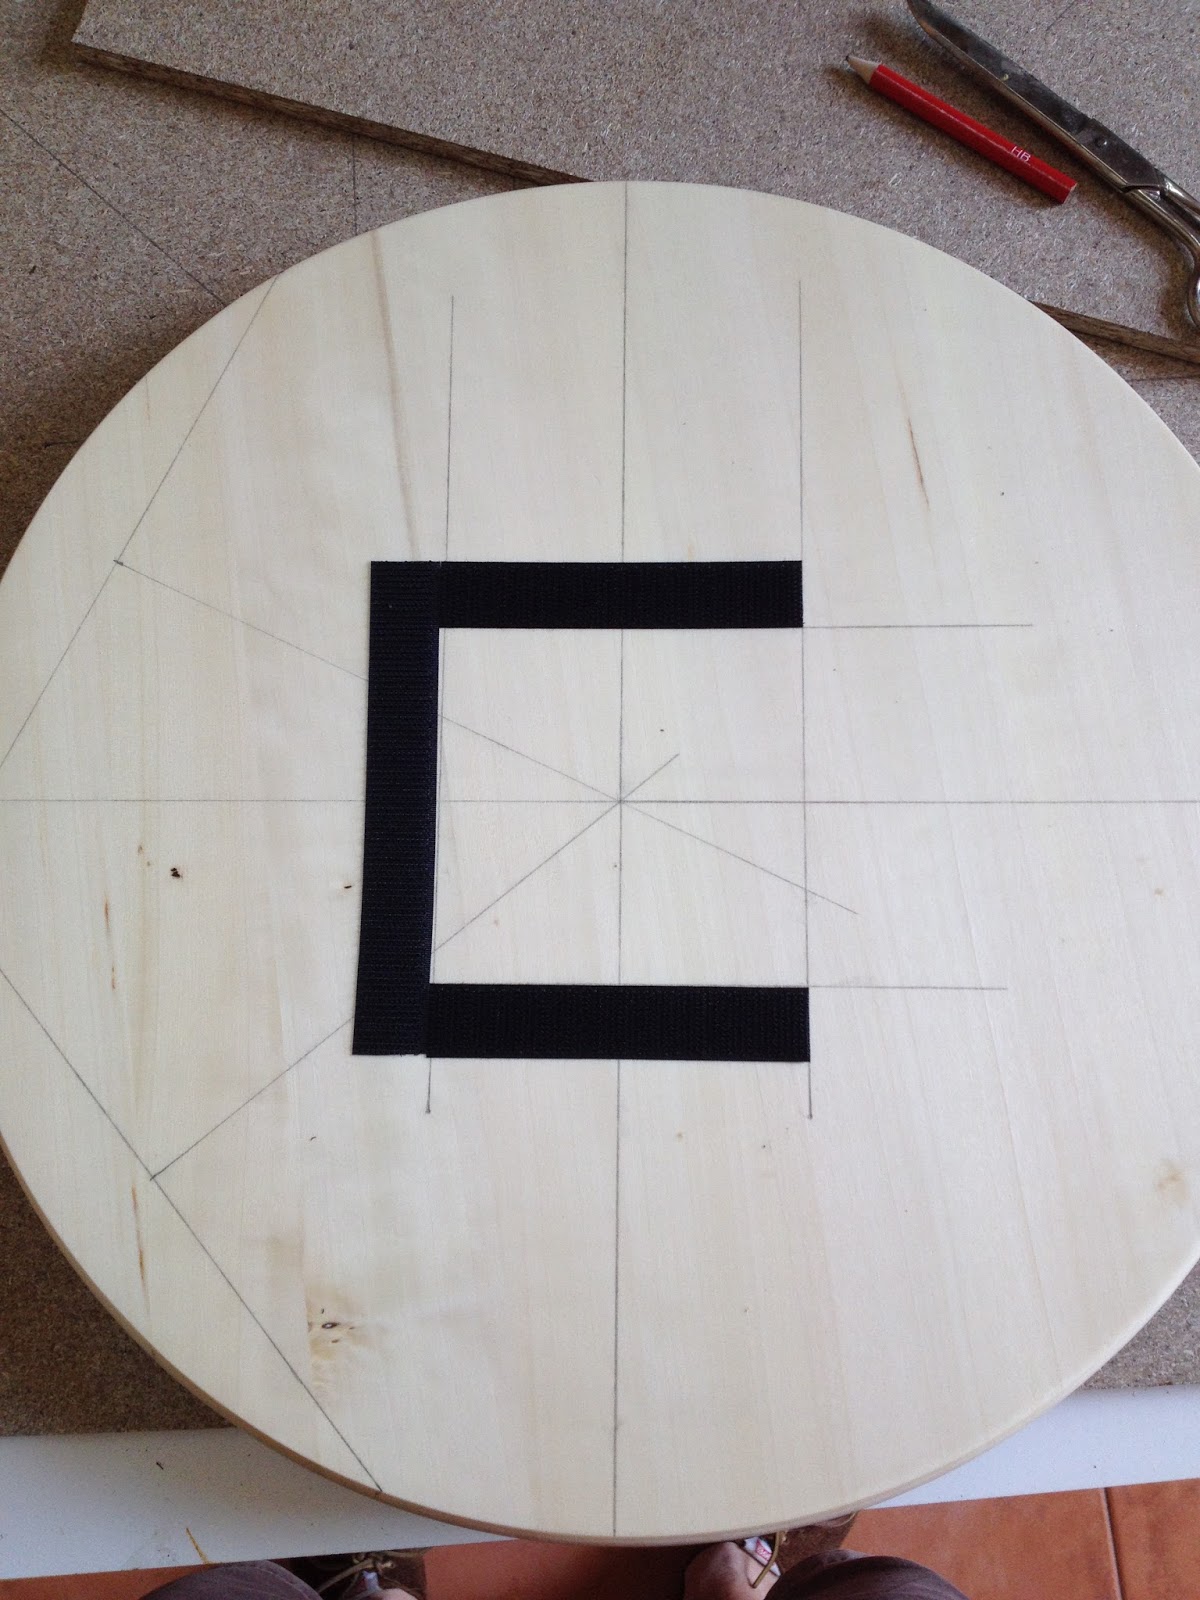
Then, using the excess battens I got when cutting the board as my parallels drawing rulers, I draw a center line and two parallels 5cm. above and below it. I did the same again rotating the board by 90º.


©David Valdés


These lines demarcate a centered square, which I used as a guide to stick four strips of autoadhesive velcro.


©David Valdés


©David Valdés


©David Valdés


I did exactly the same on the IKEA thing, but using the corresponding velcro to the one I already used on the board (pretty obvious, as if I use the same kind on both surfaces they would not stick together).


©David Valdés


©David Valdés


©David Valdés


©David Valdés


©David Valdés


Then, I just had to match both squares and the two pieces got perfectly centered and join together.


©David Valdés


Why the velcro? The SNUDDA is made of two pieces already drilled in the centre, and I didn´t want to drill again, make the holes match perfectly, buy a screw, a drill, make a countersink... I already had the velcro (you may remember the "That damn vibraphone chord" article) and, with this solution, I can easily separate both parts whenever I want to).


©David Valdés


©David Valdés


Now I can put my shells on top of this tray and easily work with them (painting, oiling, lacquering, measuring, marking, mask taping...).


©David Valdés


Next thing is to put a layout mat on it so I can measure angles for lugs, shell sizes, distances for snare beds... But that´s for another day... ;-)

The "Lazy Susan" was 5,50€ in IKEA, and the board 4,50€ in Leroy Merlin (and I got two 50x50 pieces!). Total: 10€ for a fundamental piece if you want to believe you are a real luthier :-D.


…et in Arcadia ego.
© David Valdés