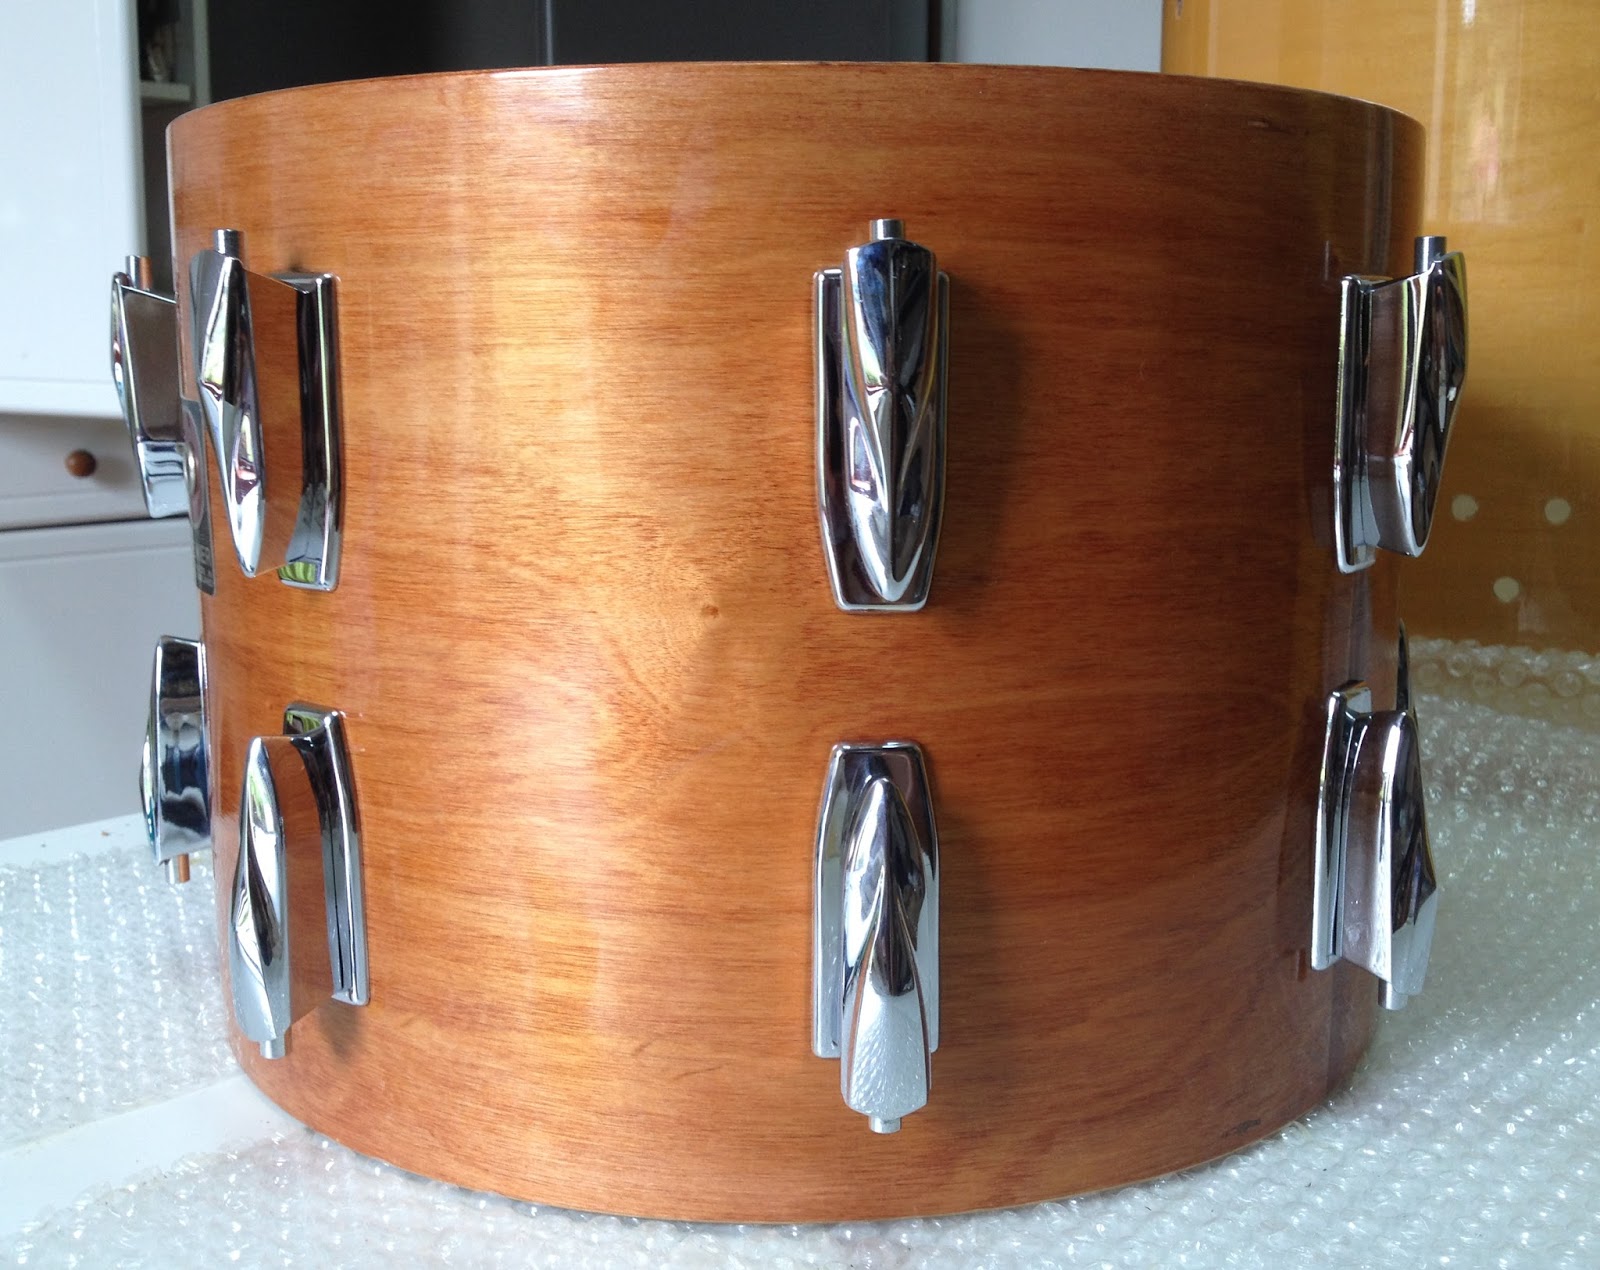
My last acquisition is a 14"x10"
Premier "Soundwave" snare drum and, as you may have guessed, I bought it on eBay.
 |
| ©Drum Attic Warminster |
The seller advertized it as a 9.5" deep drum, but didn´t provide much details, as he couldn´t find much information about it. Once I got the drum, my investigation started...
It features those charasteristic "Soundwave" lugs (early 80´s), which got their "powerboat" nickname due to their futuristic look.
 |
| ©Premier Drums |
This drum features the RW finish:
 |
| ©Premier Drums |
The shell is made of birch with solid beech support rings (see the "New drum shells" section on the first catalogue photo). Its diametre is slightly less than the nominal 14" (see that same photo), a new feature (back then) in the "Soundwave" series which was to be repeated in the legendary
"Genista" series. See how the head overhangs the shell, a feature Premier had already added to its
Elite timpani.
 |
| ©Drum Attic Warminster |
Knowing it´s a Soundwave, identifying it should have been easy, but the deepest snare drum in this series was "only" 8" (next photo, model 2005 under the section "Snare drums, wood shell"), and this one is 10"...
 |
| ©Premier Drums |
Ths particular drum is exactly 14"x10", so there are only two options: it´s a a snare drum that, somehow, was made to specific request and was not on the official catalogue, or it´s a modified tom-tom...
Its support rings have not been moved (there are no signs of such modification) and they are in pristine condition, so we can deduce this is not a drum that was cut from a bigger one. In addition, lugs are perfectly symmetrical and there are no extra holes, so it´s clear the drum is intact and keeps its original sizes.
There are some more hints... The shell features two Premier badges, something you can see very often on tom-toms:
 |
| ©David Valdés |
There are two holes under the snare strainer (the classic 632 model by Premier) that shouldn´t be there (unless this drum was originally a tom-tom). These holes (now a pair of vent holes) would have been be part of the original mounting system. You can see them behind the strainer:
 |
| ©David Valdés |
In addition, the bolts and washers holding them in place are different and newer:
 |
| ©David Valdés |
This drum features snare beds (an essential structural element).
 |
| ©David Valdés |
 |
| ©David Valdés |
From the outside, we can see it´s very well done. From the inside, we can see it´s been hand made and "a posteriori" (very well, but we now can confirm it´s not original):
 |
| ©David Valdés |
 |
| ©David Valdés |
This last photo also shows us that the hardware holding the snare strainer (central line, first and third bolt/washer from above) is Premier (it´s the same as that in my
1049).
All this hints guided me to a conclusion: this drum is not a model specifically made by Premier, but a modification of a tom-tom... As its sizes are original, the only tom-tom Premier had on its Soudwave catalogue measuring 14"x10" was the 4440 (see the "Tom-toms, double headed" section on the next photo). It can´t be the 4114 (see the "Tom-toms, single headed, concert" section) as it would only had featured the batter head (very trendy at that time), meaning the person who modified it would have had to drill, get more lugs, bolts...
 |
| ©Premier Drums |
So, this snare drum was born as a 4440 "Soundwave" tom-tom. It got snare beds added (very well made, by the way), snare strainer and butt end (all of them Premier), which are hold in place with original hardware. An original resonant hoop featuring a snare gate was also added, together with a Premier snare. The original holes holding the suspension system were converted into vent holes and were hidden behind the strainer. It´s a modification so well made that the previous owner could not find information about the drum because he couldn´t imagine it was a "transgenic" tom.
Before we start with the restoration process, here you have a link to an inmense resource of Premier catalogues:
DRUMARCHIVE. I hope you find it useful.
First thing I did was getting rid of all the hardware, leaving the shell bare nude. The washers protecting the shell from the screws holding the lugs were rusted and stained the wood, so that was our first task...
 |
| ©David Valdés |
I used a delta sander:
 |
| ©David Valdés |
First, using 80 grade paper.
 |
| ©David Valdés |
Then, 120 grade.
 |
| ©David Valdés |
180...
 |
| ©David Valdés |
Lastly, a 320 grade for a smooth finish.
 |
| ©David Valdés |
I also sanded the support rings.
Once the inner part of the shell was smooth as a baby bum, I applied five layers of tung oil to protect and nourish the wood and make it look better.
 |
| ©David Valdés |
I cleaned the outer part with a cloth lightly dampened with ammonia, and then applied some wax (which I got at
Leroy Merlin).
 |
| ©David Valdés |
Once each layer was dry, I buffed the shell with a peace of cloth (which I also bought at
Leroy Merlin) attached to a drill.
 |
| ©David Valdés |
Because I wanted a very shiny finish, almost like a mirror, I applied ten layers and buffed like crazy...
 |
| ©David Valdés |
 |
| ©David Valdés |
Once the shell was done, I started restoring the hardware.The washers causing the rust stains were cleaned and chromed.
 |
| ©David Valdés |
 |
| ©David Valdés |
The lugs were cleaned and buffed using this
Leroy Merlin kit.
 |
| ©David Valdés |
This is the final result. I promess this photo doesn´t make the lugs justice...
 |
| ©David Valdés |
Looking at this detail you can see why they got their "powerboat" nickmane.
 |
| ©David Valdés |
 |
| ©Dubai Travel Guide |
I also cleaned and buffed the snare strainer and butt end.
 |
| ©David Valdés |
The tension bolts and their washers were also chromed.
 |
| ©David Valdés |
 |
| ©David Valdés |
Counterhoops...
 |
| ©David Valdés |
 |
| ©David Valdés |
 |
| ©David Valdés |
The screws holding the lugs...
 |
| ©David Valdés |
 |
| ©David Valdés |
The strainer and butt end screws...
 |
| ©David Valdés |
 |
| ©David Valdés |
 |
| ©David Valdés |
 |
| ©David Valdés |
 |
| ©David Valdés |
 |
| ©David Valdés |
Once everything was like new, I mounted the drum back.
 |
| ©David Valdés |
 |
| ©David Valdés |
 |
| ©David Valdés |
 |
| ©David Valdés |
 |
| ©David Valdés |
 |
| ©David Valdés |
 |
| ©David Valdés |
Finally, some decent photos of the instrument (which don´t show the mess in my workshop... :-D ).
 |
| ©David Valdés |
 |
| ©David Valdés |
 |
| ©David Valdés |
 |
| ©David Valdés |
 |
| ©David Valdés |
 |
| ©David Valdés | | | |
 |
| ©David Valdés |
 |
| ©David Valdés |
At the moment, this snare drum is fitted with a
REMO Controled Sound Black Dot as its batter head, paired with a
REMO Coated Ambassador as its resonant head (funny, isn´t it...? I´m trying something I´ve read on a forum about 80´s sounds). The goood thing about this drum is its versatility: now it can provide a monstruous backbeat to your 80´s sound. If I fit it with calf heads and gut snares, it will make a fantastic rudimental drum. If fitted with a
REMO Renaissance Diplomat or a
REMO Thin Coated as the batter head, a
REMO Diplomat SD as the resonant one and some
GROVER Club Bright snares, I´ll have a fantastic drum for playing certain orchestral excerpts... Not to mention the different head tensions we can play with in order to get those many different colours/sounds.
A fantastic drum, isn´t it? From now on I have a super versatile new toy in my arsenal... ;.). Stay tuned, as a future article will include a video of this drum in different musical situations.
…et in Arcadia ego.
© David Valdés